R-STUDS Metric Threaded Rods - Steel Class A4
A4 stainless steel threaded rod for outdoor and damp conditions
Features and benefits
- High-performance bonded anchors offer high load-bearing capacities
- A4 stainless steel offers improved load-bearing capacities (relative to standard carbon steel)
- Can be post-installed through fixture in some cases. (Consult technical advisory service)
- Hexagonal bit for the wrench with appropriate tightening torque
Product information
Size |
Product Code |
Anchor |
Fixture |
|||||
Diameter |
Length |
Max. thickness tfix for: |
Hole diameter |
Max. thickness tfix for: |
||||
d |
L |
hnom, 6d |
hnom, 12d |
df |
hnom,min |
hnom, 12d |
||
[mm] |
[mm] |
[mm] |
[mm] |
[mm] |
[mm] |
[mm] |
||
M8 |
R-STUDS-08110-A4 |
8 |
110 |
52 |
4 |
9 |
40 |
4 |
R-STUDS-08160-A4 |
8 |
160 |
102 |
54 |
9 |
90 |
54 |
|
M10 |
R-STUDS-10130-A4 |
10 |
130 |
58 |
- |
12 |
48 |
- |
M12 |
R-STUDS-12160-A4 |
12 |
160 |
73 |
1 |
14 |
65 |
1 |
R-STUDS-12190-A4 |
12 |
190 |
103 |
31 |
14 |
95 |
31 |
|
R-STUDS-12300-A4 |
12 |
300 |
213 |
141 |
14 |
205 |
141 |
|
M16 |
R-STUDS-16190-A4 |
16 |
190 |
75 |
- |
18 |
71 |
- |
M20 |
R-STUDS-20260-A4 |
20 |
260 |
117 |
- |
22 |
117 |
- |
M24 |
R-STUDS-24300-A4 |
24 |
300 |
128 |
- |
26 |
132 |
- |
Applications
- Satelite dishes
- Balustrading & handrails
- Barriers
- Safety barriers
- Starter bars
- Gates, wickets, fences
- Stadium seating
- Fixing electrical boxes, sanitary ware, cable trunking, etc.
- Road Signs
Installation guide
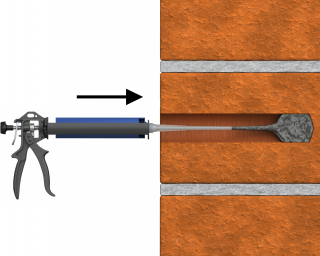
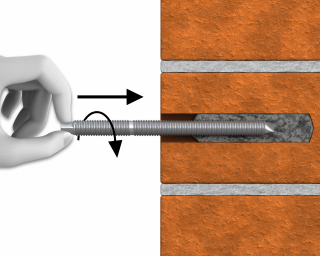
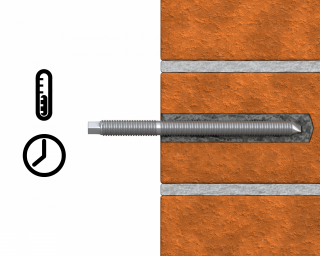
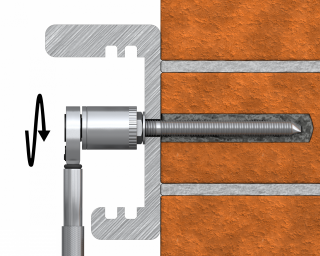
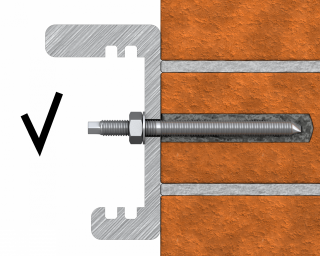
- Drill hole to the required diameter and depth for stud size being used.
- Clean the hole thoroughly with hand pump and hole brush
- If required, insert the mesh sleeve into position
- Fill hole with the required resin to the recommended fill level. (Follow the relevant instructions for the resin product)
- Insert the threaded stud slowly and with a slight twisting motion, until the required embedment depth is reached
- Leave undisturbed until curing time of resin has elapsed
- Attach fixture and tighten the nut to the required installation torque


