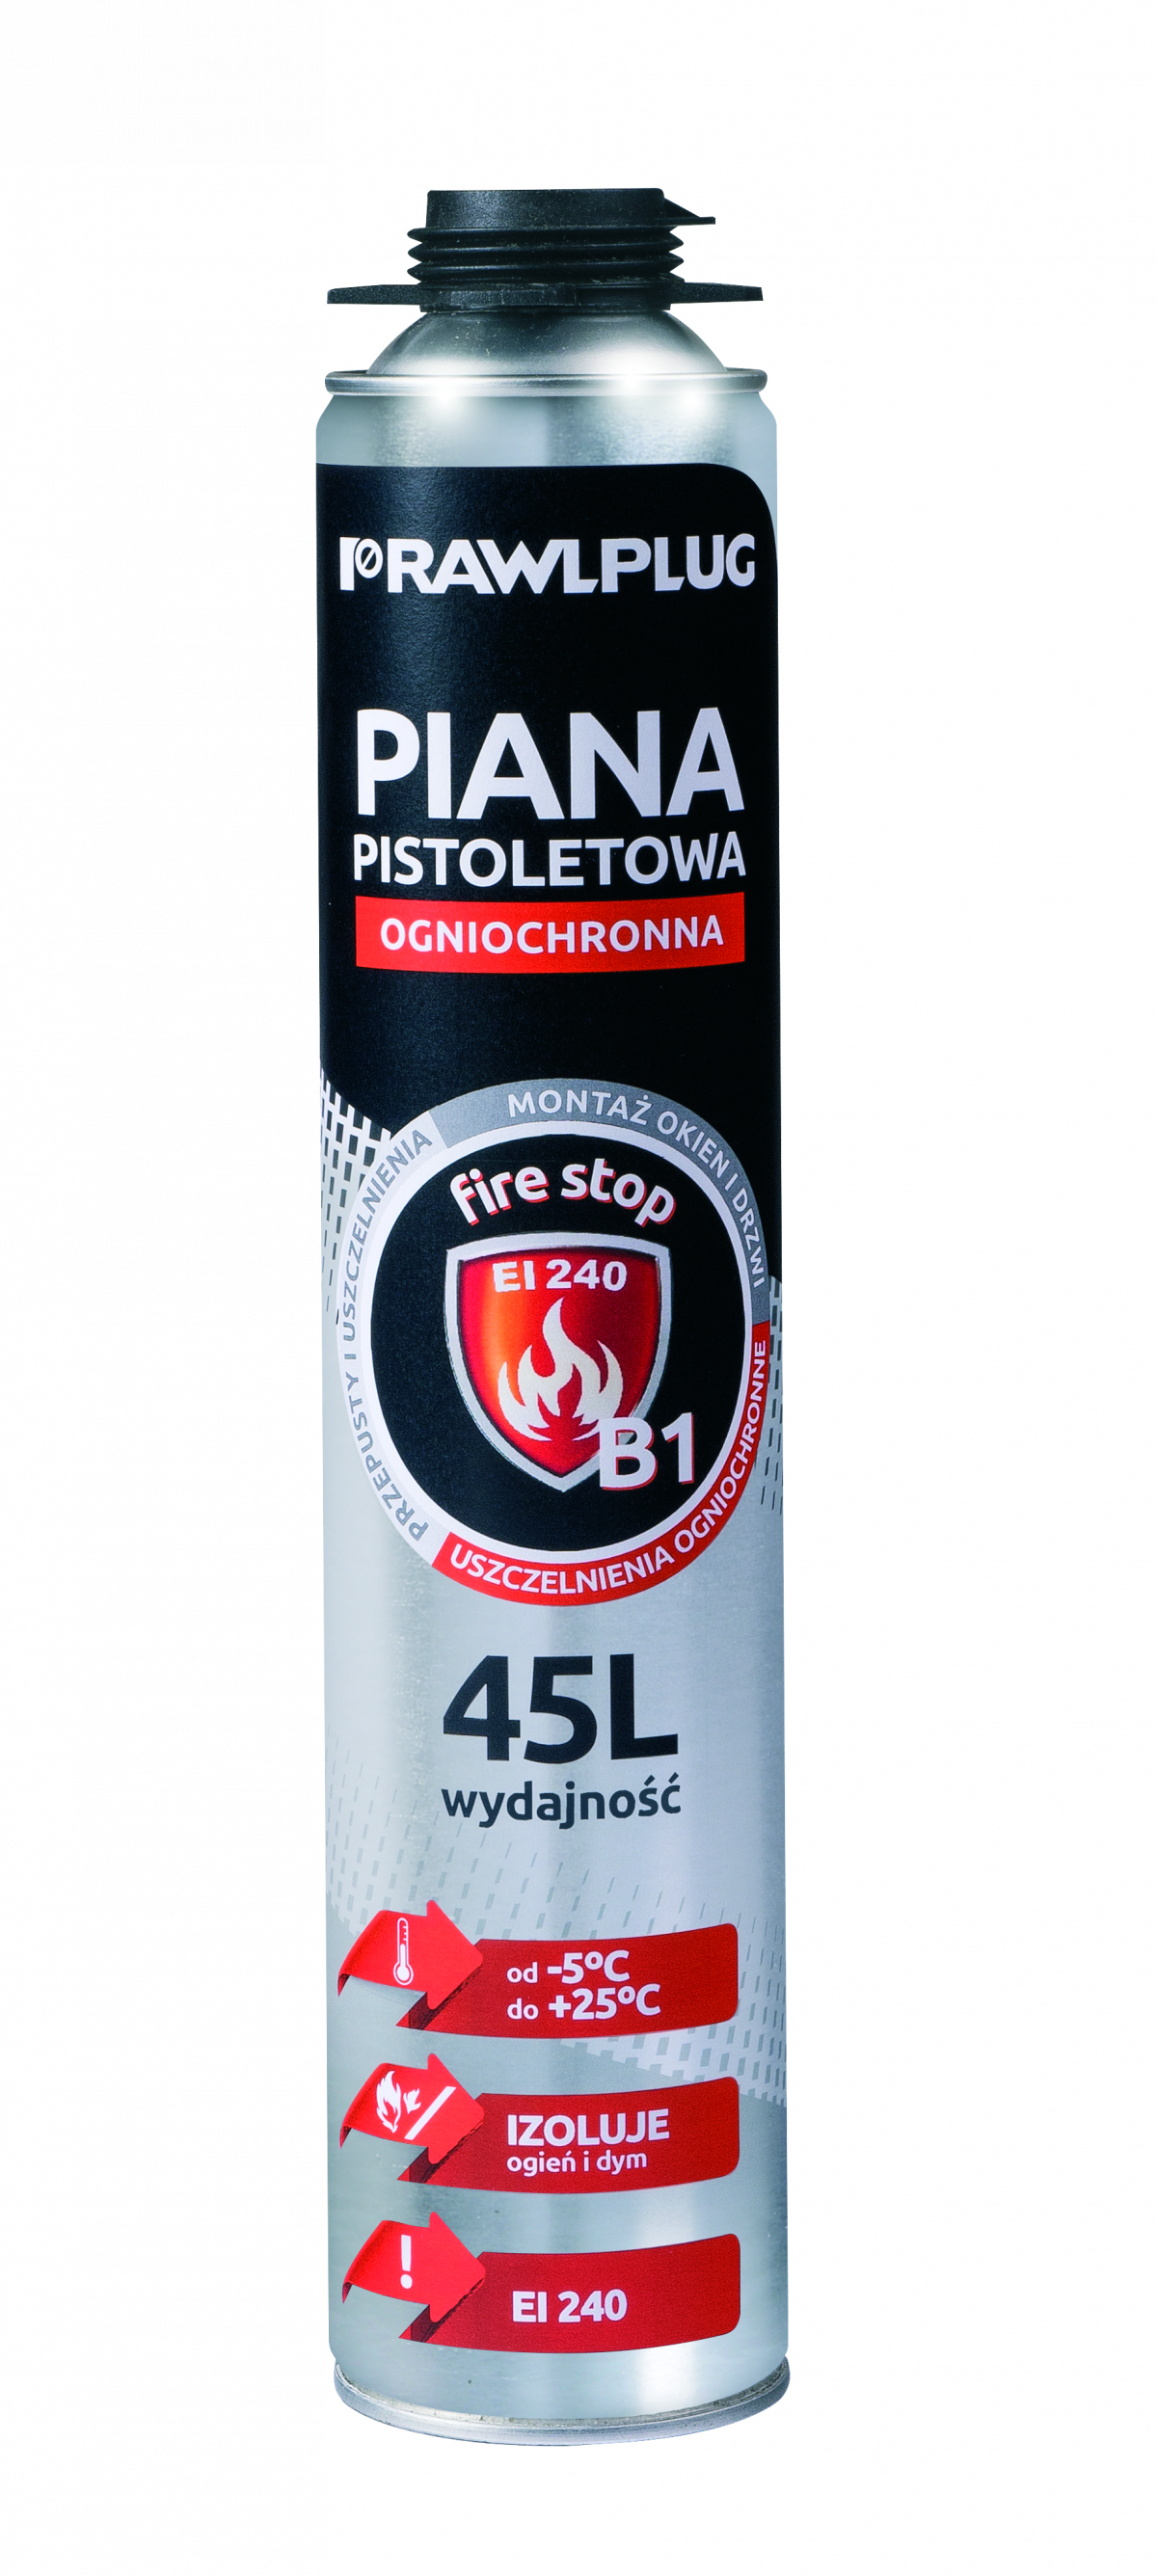
RPP-B1 Fire Resistant Foam
B1 - Low-pressure, one-component polyurethane fire-resistant foam with applicator gun.


Features and benefits
- Fire-resistant - EI 240 fire resistance, providing technical approval criteria are fulfilled
- Insulates against fire, smoke and gas
- Self-extinguishing.
- Ideal for mounting, sealing and soundproofing.
- Cutting time 40 min after apllication
- Can be painted or plastered when cured
- Excellent adhesion to most materials and substrates used in construction.
- Yield up to 45 l
- Resistant to mould and fungi.
Base material
-

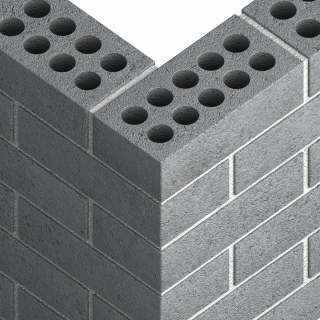
Concrete
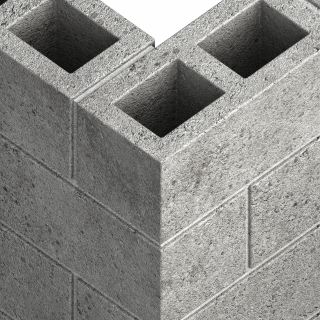
-
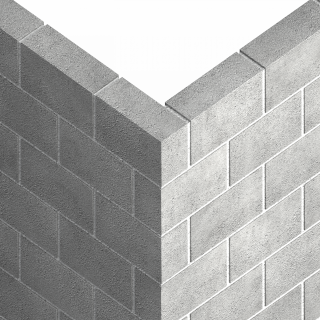
Solid Concrete Block
-
.png)
Aerated Concrete Block
-
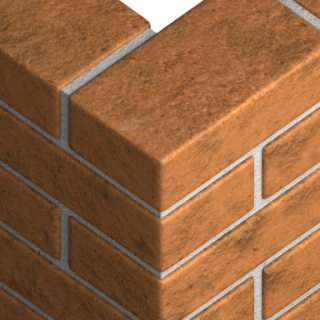
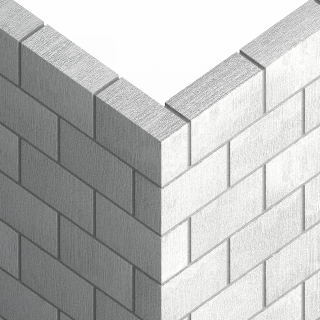
Masonry
-

Stainless Steel
-
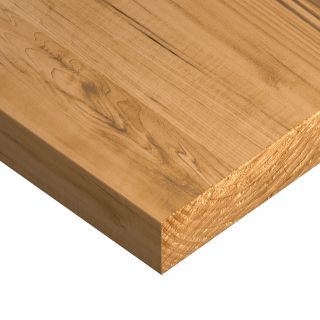
Wood
-

Aluminium
-
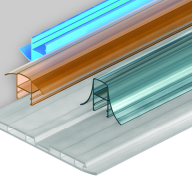
PVC Profile
-
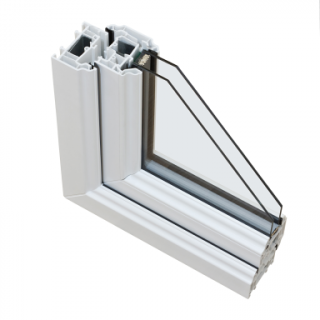
Window Profile
For use also with
-

Concrete Slab
-

Gypsum Fibreboards
-
Silicate Blocks
-
Ceramic Hollow Block
-

High-Density Natural Stone
-
Hollow Lightweight Concrete Block
-
Lightweight Concrete Block
-
Chipboard
-
Plasterboard
-
Solid Brick
-
Solid Sand-lime Brick
-
Hollow Sand-lime Brick
-
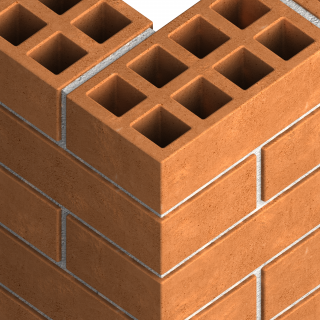
Hollow Brick
-
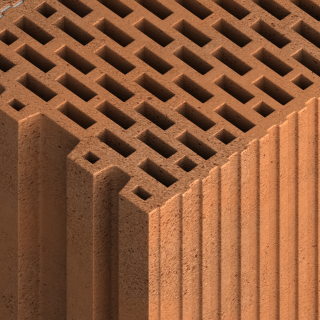
Vertically-perforated Clay Block
Applications
- For all applications with a legal requirement for fire resistance class B-1 according to DIN 4102
- For all applications where the increased fire resistance according to PN EN 1366-4 is required:- Bonding insulation materials- Creation of soundproof screens with increased fire resistance- Insulation around cables and pipes- Sealing joints in roofs construction
- For fireproof assembly of PVC, wood and aluminum frames.
- For fire-resistant sealing of joints in roofing, walls and ceilings.
- For fire-resistant filling of frame structures
Installation guide

- Wear protective gloves. Ensure surfaces are free from dust, dirt or debris.
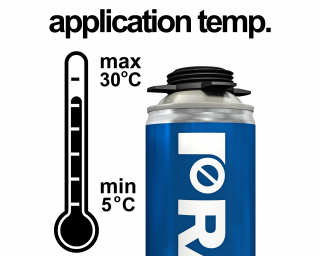
- Before using, make sure that the can temperature is above zero (optimum +20°C). Application temperature from +5°C up to +30°C.
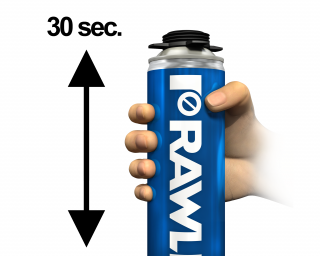
- Shake can vigorously for 30 seconds to mix properly components.
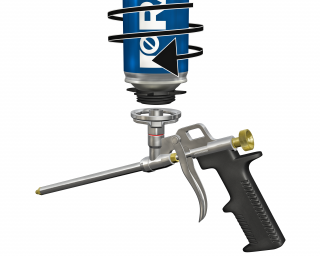
- Screw gun onto the can. Hold can upside-down during application.
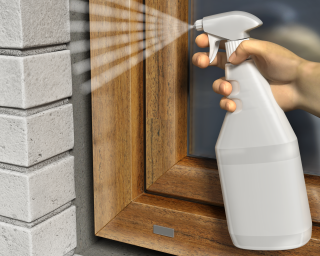
- Moisten surfaces with water prior to application.
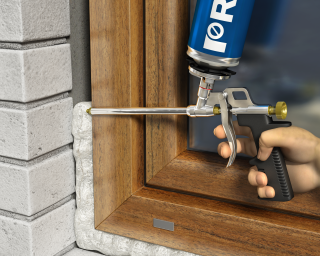
- Fill gaps from down to up, zigzag motion, alternating from one wall to the other. Fill gaps to approximately 60 % volume. Max. wide of the gap 3-4 cm. Wider gaps should be applied after hardening of the previous layer. Each layer should be moistened with water using a spray.
- After full curing, cut the excess foam with a knife and protect it from UV exposure by coating with plaster, paint, acrylic or silicone.
- In the event of a stoppage exceeding five minutes duration, wipe the nozzle with cleaner for foam applicator.
- After removing the applicator gun from the can, wipe down the nozzle and gun (internal and external surfaces) using a cleaner.